

This is our second episode on the series ( Build professional WordPress site in just 2 hours ).
We mentioned at our first episode ( Best WordPress hosting company ):-
- What is hosting company and what does it do?
- What are the Criteria of choosing hosting company?
- At last we recommended the good and cheaper hosting company Hostgator.
Therefore, in this episode we will learn step by step about hostgator registration:-
Start Hostgator registration from here:
Time needed: 30 minutes
How to register on hosting companies ( Hostgator as an perfect example )
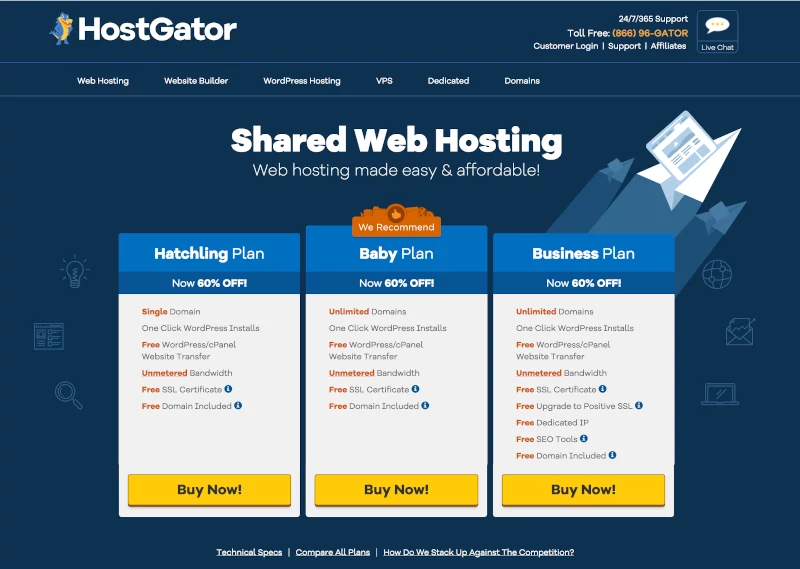
- Select you hosting plan
As mentioned in the previous episode, you need to know your targets in numbers to be able to specify which plan do you want to get
- Choose your domain name
As mentioned before Hostgator offers free domain for first year only, so you can take advantage of this free domain for the first year after that you can keep domain with them or checking another company like godaddy, name.com, …etc.
So on this step you need to choose your existing domain or the new free one.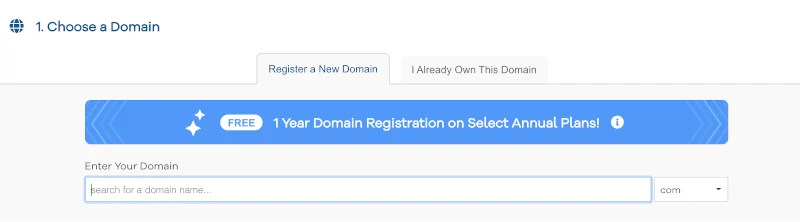
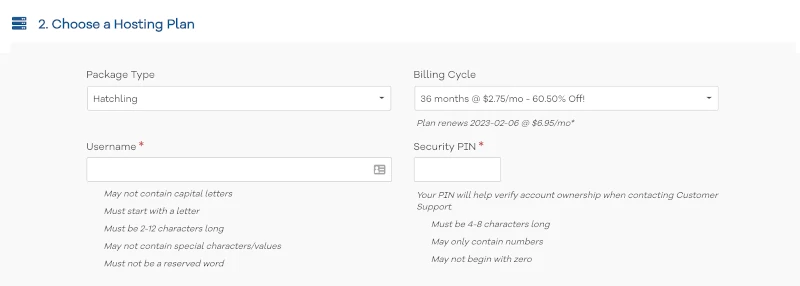
- Confirm your selected package and the duration
After that, you need to confirm your hosting plan, billing cycle, username to login with further and security PIN that you will use when contacting support team.
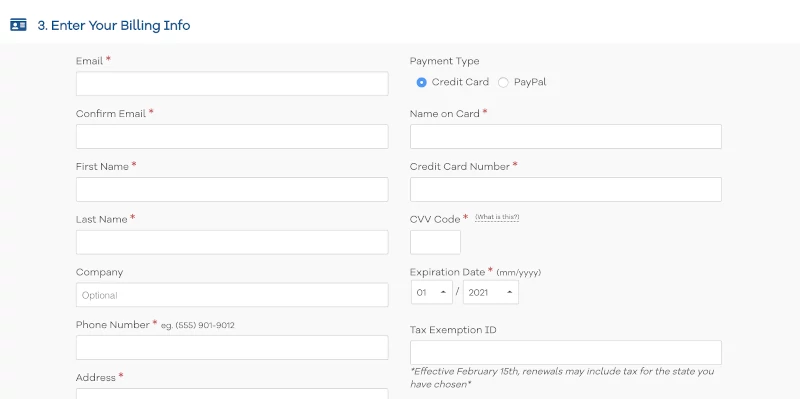
- Fill your billing information
After that, On this step you will need to fill your billing details like billing address, name, payment details.
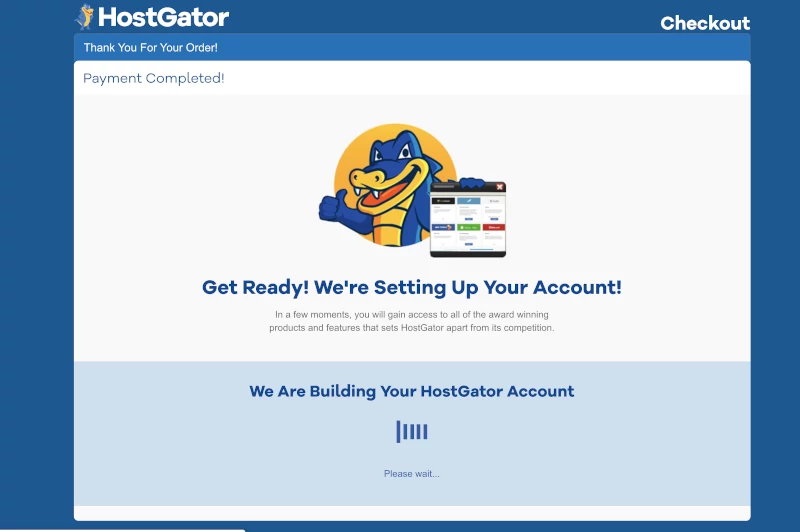
- Processing your order
After filling your correct billing details you will be redirected to this page which payment is processed and if success, your account and cpanel being created here.
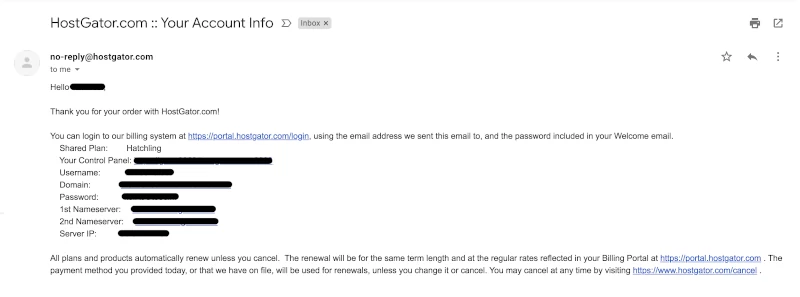
- Receiving credentials via email
After that, You will receive two emails at this point, one for billing account details and another one with CPanel details.
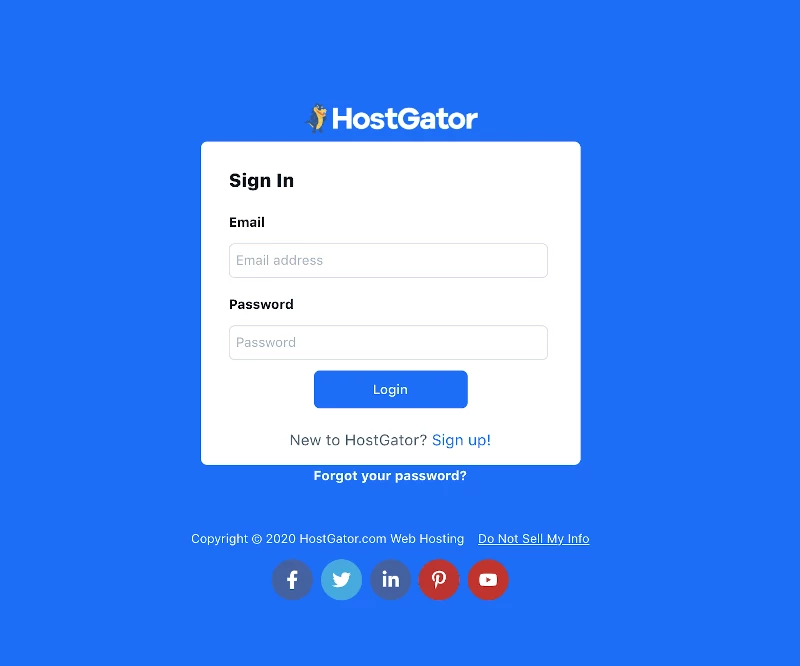
- Customer portal login
From here you can open your portal where you can manage your invoices, orders, upgrade your package or even refund your paid money
- Open CPanel from customer portal
From here you can open CPanel to manage your server and we learn together how would we install WordPress on the next episode.
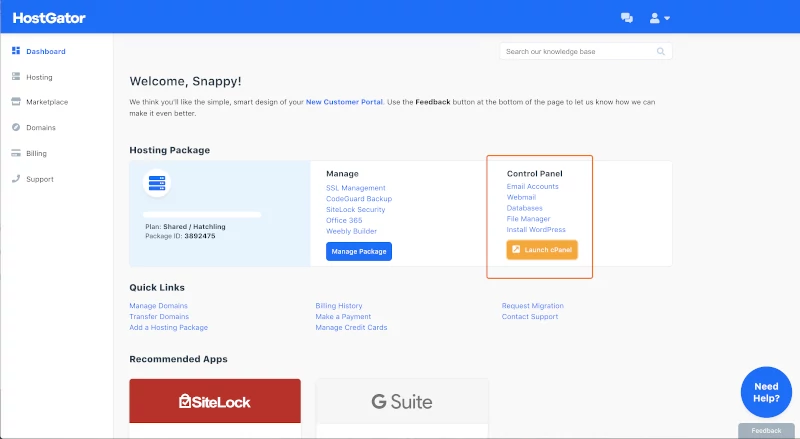
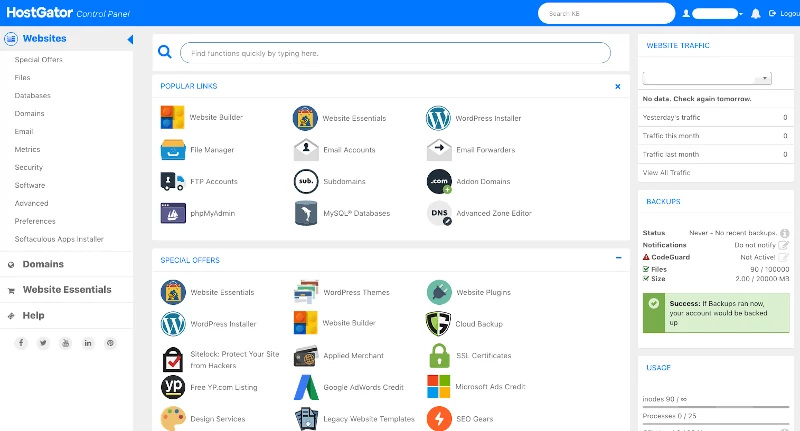
- Control Panel dashboard
After clicking on Launch CPanel from previous step you will see the dashboard for your CPanel
In Conclusion, in about 30 minutes, we learned today more about Hostgator registration.
so now you can register easily at any hosting company as all are common on the concept.